How to Develop a Children’s Book Cover
How exciting to be making strides to illustrating a children’s book! Whether it is something you are curious about, your first time, or you are a veteran, you’ve come to learn about all things related to making an awesome children’s book cover. Of note, I am using Procreate, the digital illustration app on the Ipad. The same methods can be applied in whatever digital illustration app you are using. You can also refer to the video tutorial for a short process in developing a children’s book cover. Let’s dive in!
Step 1: Brainstorm Different Concepts
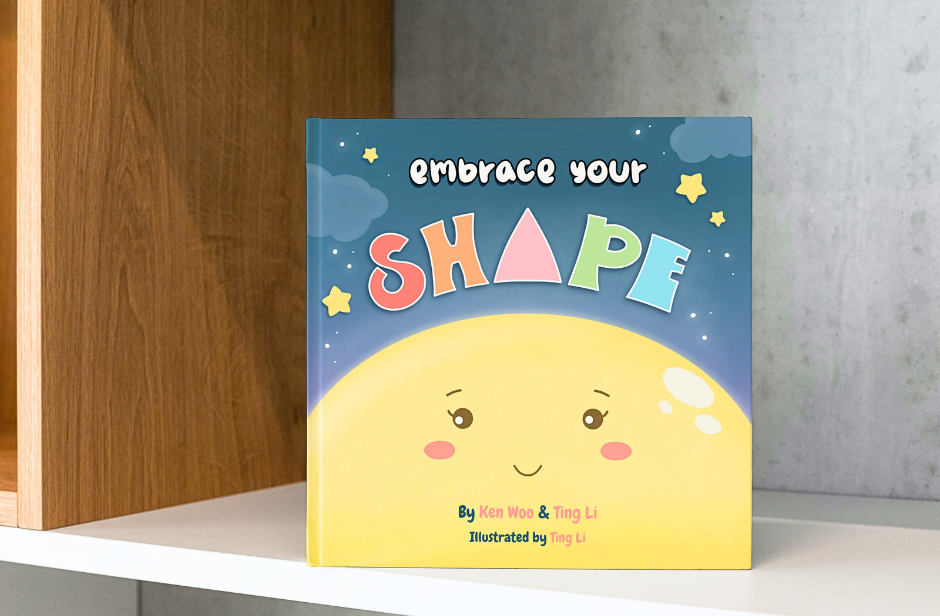
It is important to sit down and brainstorm a diverse set of ideas and concepts for your children’s book cover. A lot of the times, after sketching different iterations, the latter concepts will be better than the first ones. Try exploring diverse concepts, including using different angles, elements, scenes, night vs day, color contrasts, etc. Below are several concepts developed for the Embrace Your Shape book, my first children’s book I illustrated:

These were the final illustrations created, but you can stick to sketches first and narrow down a few you like before doing a full color and illustrating them. I recommend doing a full illustration for each and then you can make your best judgment to choose from there. This is time consuming yes, but I find this process will be helpful to see which book cover is eye-catching, engaging, and unique.
Keep in mind that your children’s book is competing against a sea of many other children’s books, most drawn by very talented illustration artists. It is important for your children’s book to stand out and, ultimately, shows a little bit about what the story will be about. This includes showing the main character(s) and adding other elements or context that complement your children’s book title.
You may also wonder when you should develop your children’s book cover - before, during, or after you develop your illustrations? This is entirely up to you, but I recommend developing your children’s book cover whenever you get a surge of artistic motivation and inspiration, but also when you have your main characters drawn out and color palette selected.

Step 2: Setup Your Digital Canvas
The first step is to know exactly what canvas dimensions, resolution, and color profile to set up your cover as, as discussed in the 4 Basic Steps for Developing Children’s Book Illustrations blog post. A precursor step before drawing any illustrations is to look for book manufacturers and determine their printing information:
What are the available book sizes they can print (8”x8”, 8.5” or 8.5”, etc.)?
What is the bleed dimension of the book size?
What is their expected color profile (CMYK or RGB)?
What resolution is preferred (300 dpi or 200 dpi)?
What format would they like the final print file to be (PDF, etc.)?
Book manufacturers may have slightly different printing needs, so it is best to confirm with them or research their printing criteria. The reason your canvas should be set up for printing is so that the illustrations and color will look as close to how it is when printed and they won’t come out blurry. This is the foundational step for printing any artwork from a digital illustration app!
Once you have the information ready, you can move on to setting up your digital canvas for your cover, which will also set the precedent for your illustrations. Be sure to set up the width and height on the cover that includes bleed and be sure to set the color profile and resolution correctly. For instance, the canvas information for my book was: 8.5”x8.5” with 0.25” bleed on both edges, 300 dpi resolution, and CMYK color profile.
NOTE: In Procreate, you cannot set up bleed on your canvas so you will need to do this manually. One trick is to use the Drawing Grid as a guide and set the grid to the bleed dimensions and draw from there. It won’t be perfect, but this will help you understand your limits and where your illustrations will be cut off. It is good to set up bleed because then you won’t be surprised when elements on the edges are cut off and you create illustrations knowing where the edge limits are.
Step 3: Choosing the Right Font Title
Ideally, the more custom your title is, the better. The reason is because this will make your book appear more distinct and unique, instead of using a generic font such as Times New Roman or Arial. Since this will be a children’s book cover, it needs to be interesting and fun. If the title can match with the story of the book, that is also ideal. The book cover, in my opinion, should be kind of like an art masterpiece, since it will be displayed and seen by the public. It is the gateway to your book and the first impression of your book, so I would not take illustrating a children’s book cover lightly.
If you can’t create a custom title, you can purchase unique fonts available for licensing. It is important to note that if your book is meant to be commercially distributed, you should take caution of using any free font with this kind of disclaimer.
Along the same lines, consider where you will place the text for the author name(s) and/or the illustrator name(s). Place the text as it naturally fits with the artwork so it won’t seem like an afterthought. Having a nice placement of text that complements the artwork will make your book cover make your much more enticing to look at.
Step 4: Consider the Back Book Cover
As you are developing your front book cover, consider what the back book cover will look like as well. Will it carry on the same theme as your front cover or have completely different and contrasting color? There is no need to overcomplicate this but I think it is also important to put some thought into the back cover.
There could be some additional information to place on the back cover, such as the ISBN code, author signature(s) for the first edition of the book, excerpt of the book, etc. Consider locations for this information as you develop your back cover.
Bonus Tip: Share Your Book Cover Ideas on Social Media!
When I had my three children’s book covers ready, I posted on my social media, including Facebook groups, and asked people to vote on the children’s book covers they liked. The reason to do this is to not only to get a sense of what people, particularly parents, like, but to also help subtly market your book. You can also start to build trust and engage with people online and offline this way, and get them to be aware of your book.
Ultimately, you want to make sales for your children’s book and it helps to provide insight and sneak peaks of what you are creating and what they will be expecting. I think if you want your book cover to be a mystery, you will need to figure out another way to strategically market your book prior to launch.
Embrace Your Shape book will launch on August 29, 2023!
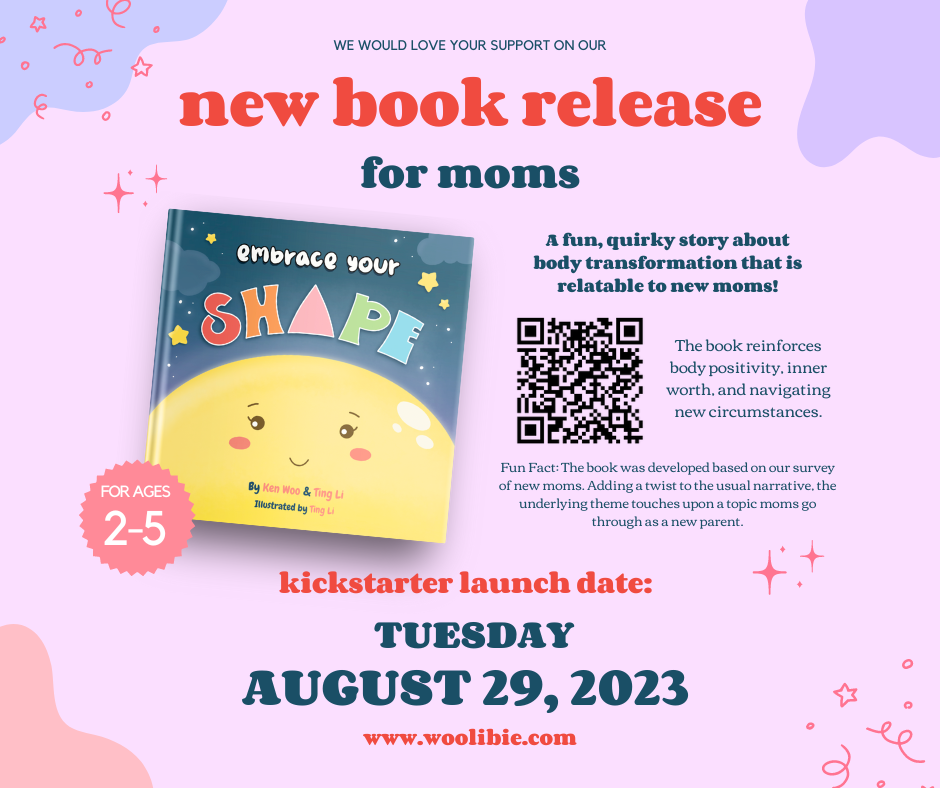
We are 8 days away from launching the Embrace Your Shape book on Kickstarter! Our goal is to help new moms transition into motherhood with a focus on mental health, so we created a book that adds a twist to the usual narrative: the underlying theme is something that new moms go through as a new parents.
A recurring concern that resonated among moms from our survey in February 2022 was body transformation. We wanted to introduce a unique idea where a children’s book can be relatable to both new moms and their child: one who is transitioning into a role as a new parent and one who is developing into a curious human being.
The book is meant to reinforce body positivity, self-acceptance, and navigating new circumstances. After a year and half of the storyline and illustrations development, we are SO close to releasing this out into the world. We do need help in manufacturing costs and we hope that this Kickstarter will be the start of a unique venture for all of us (and maybe not the last)!
Those who support the campaign in the first 3 days will get a discount too! We also have interesting Kickstarter rewards lined up, so be sure to check all tiers and add-ons to see what fits you best. Check out our story to learn more. Thank you in advance for your support!
Let me know what you children’s book you are developing in the Comments section, I would love to know!
Happy creating,

Interested in working with me? Fill out the Contact Form.
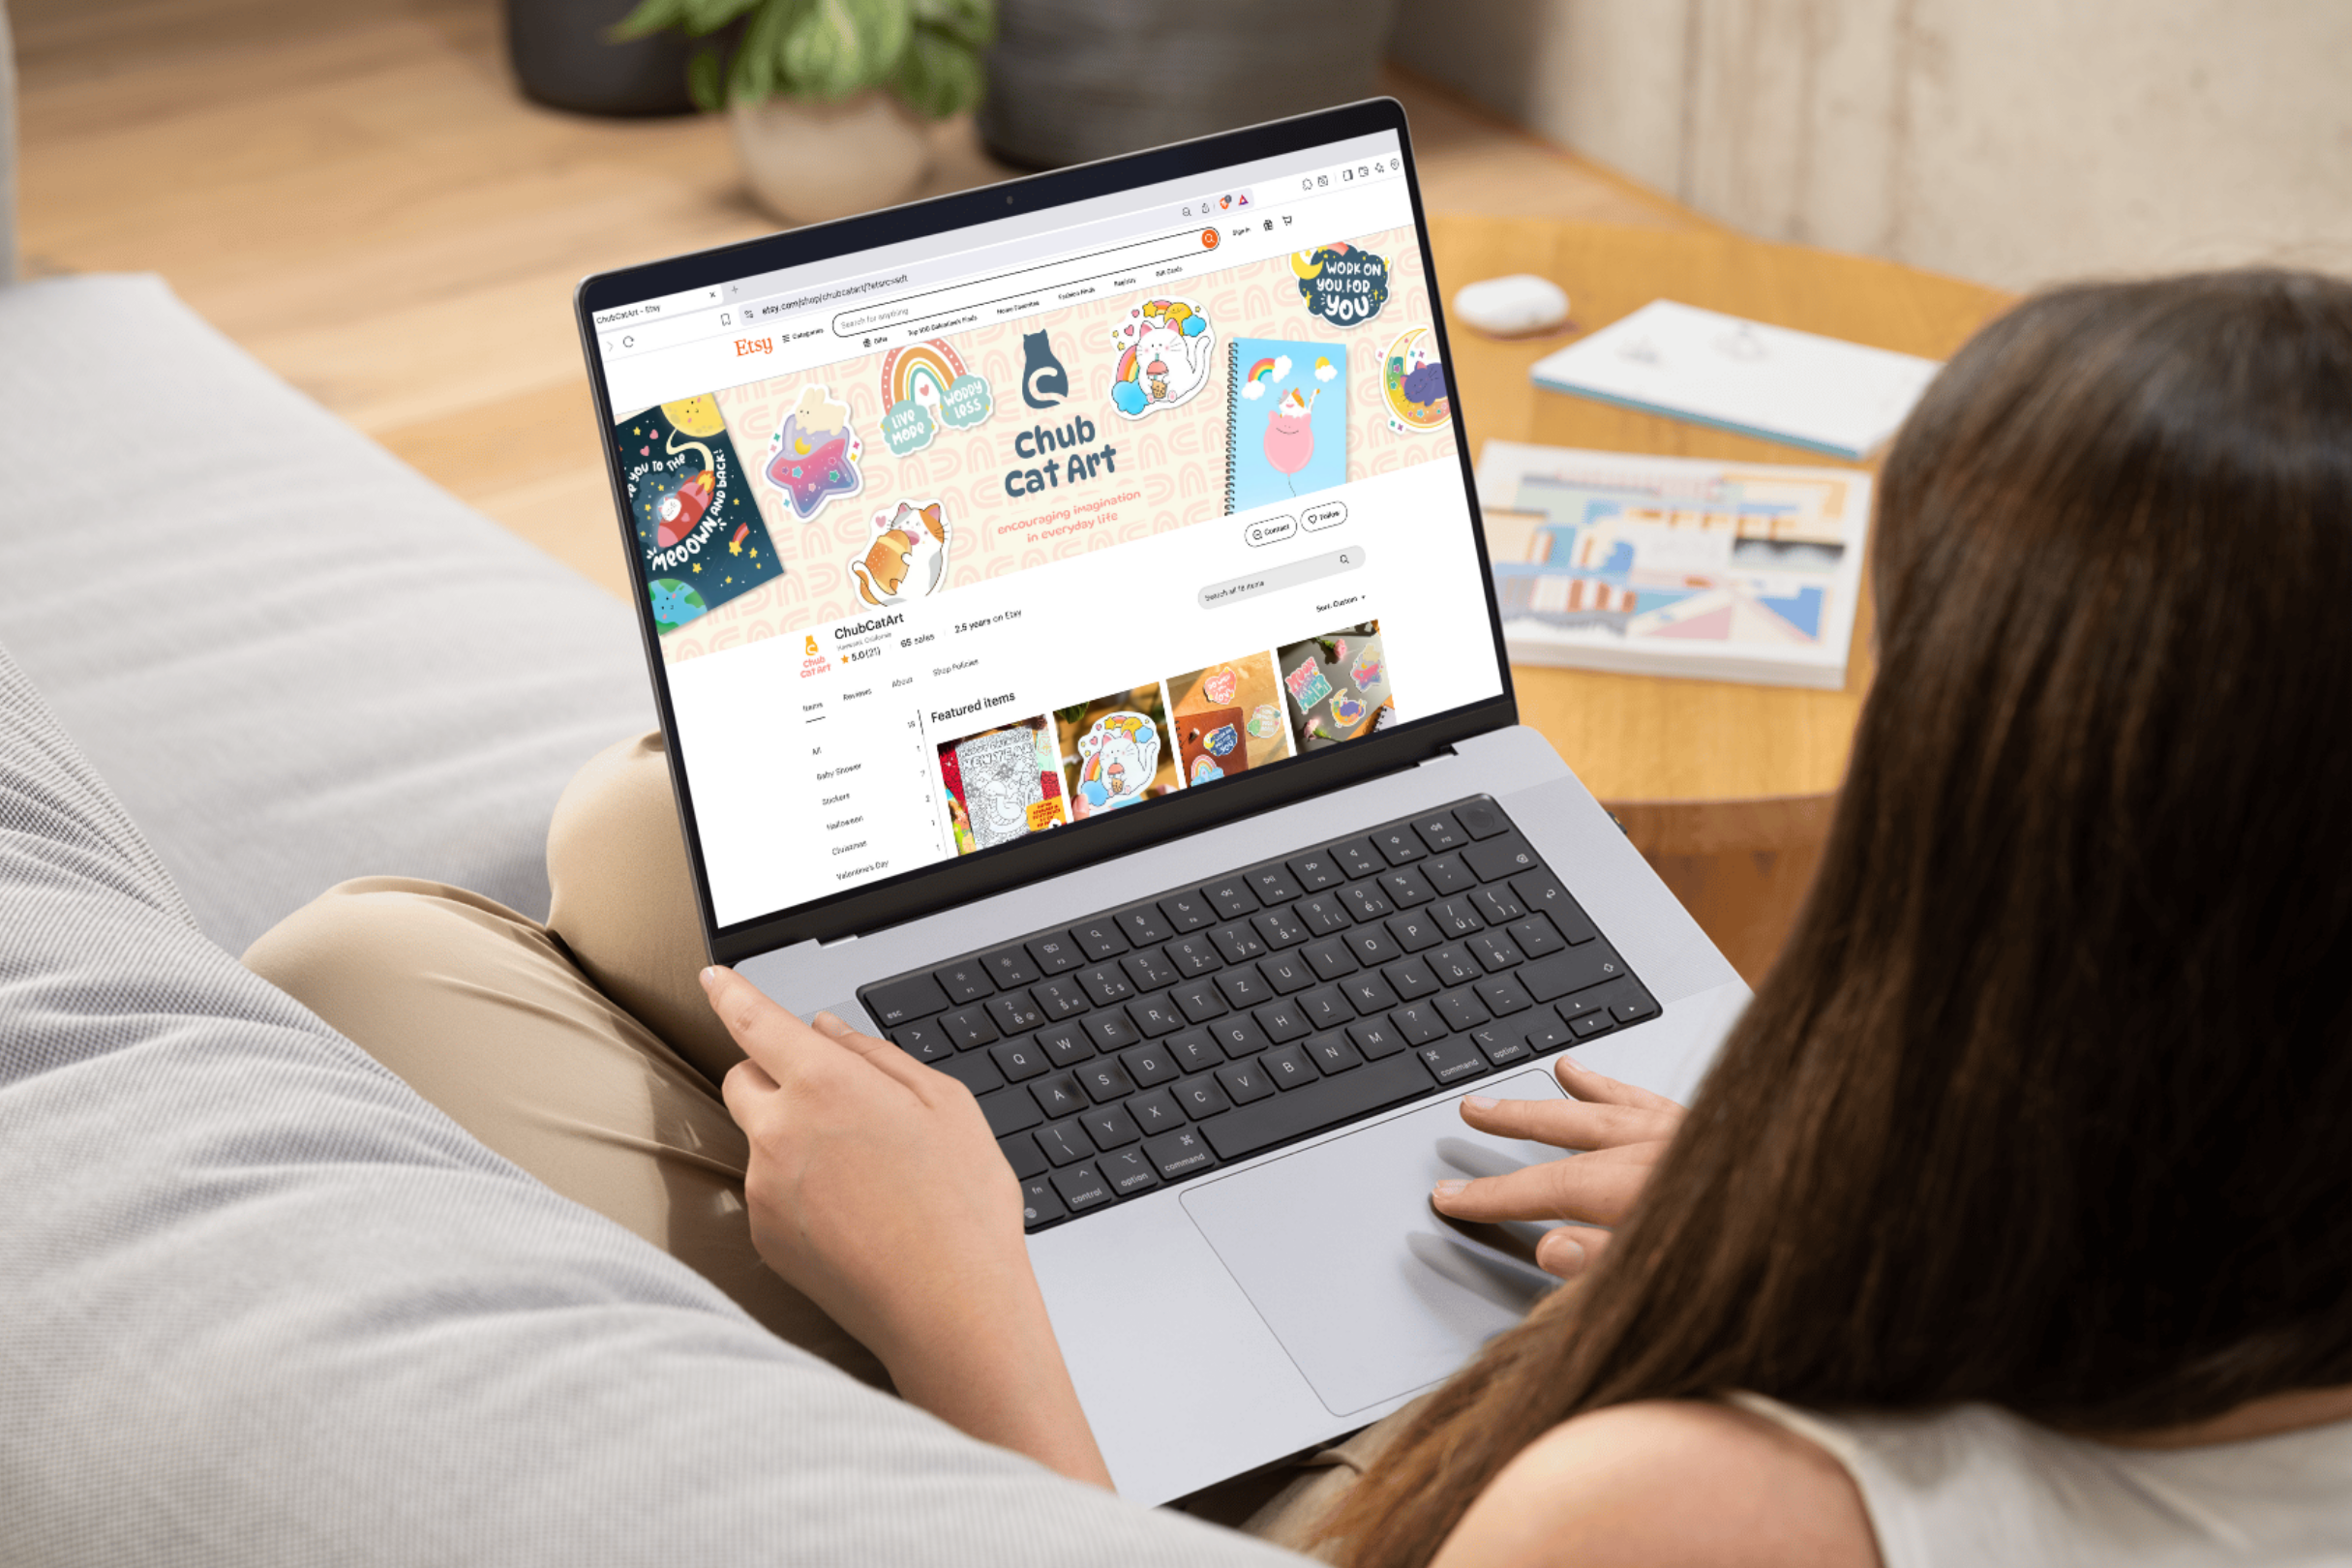
Check out my portfolio or my latest work on my IG @chubcatart!
For brand collaborations, check out my media kit.

If you are looking to build a strong online presence with your art, you are in the right place! Here at ChubCatArt you will find resources that will help you stand out and be seen in your art journey. Take the leap and let’s get creative together! Read more.
You might also enjoy…